Stack Wallet software installation and operation guide for iOS
Stack Wallet is a wallet for managing Monero cryptocurrency. The tutorial describes how to install and generate a wallet and send and receive funds.
Installation of Stack Wallet app #
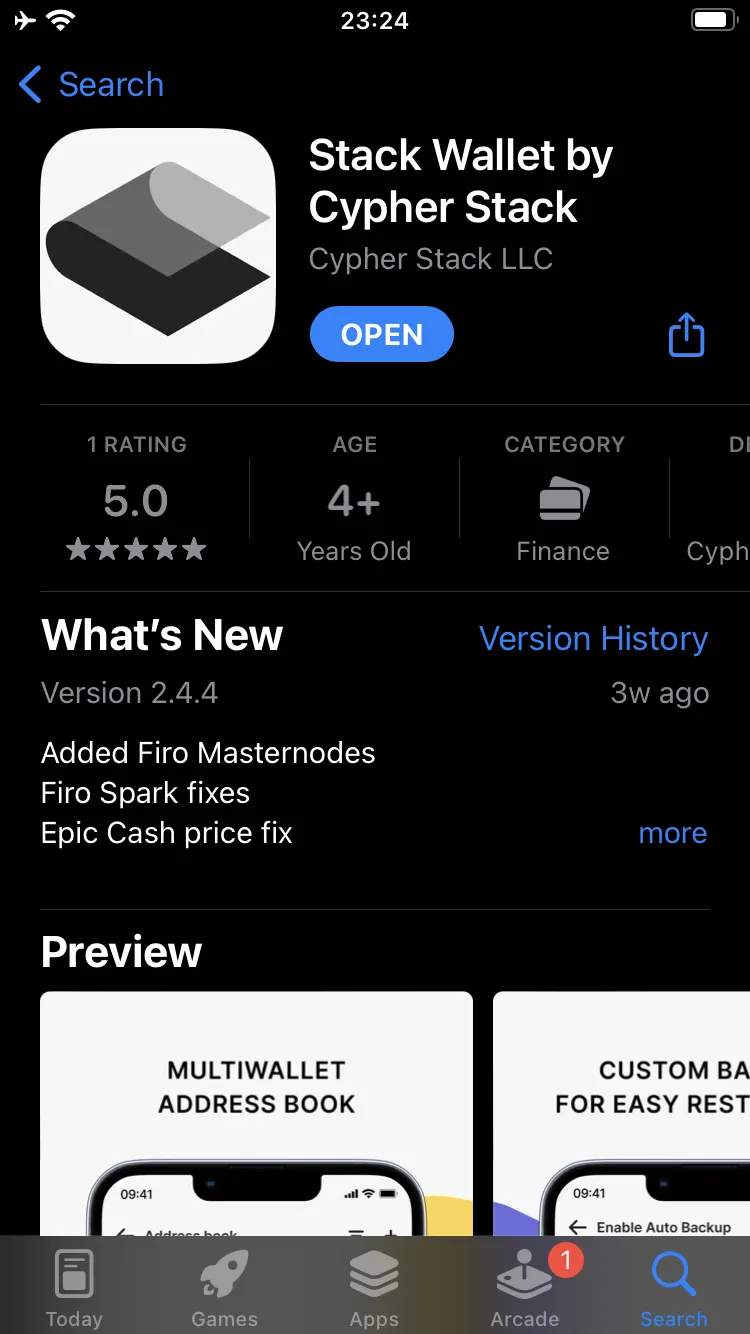
- Download the software from the App Store.
Generating a wallet #
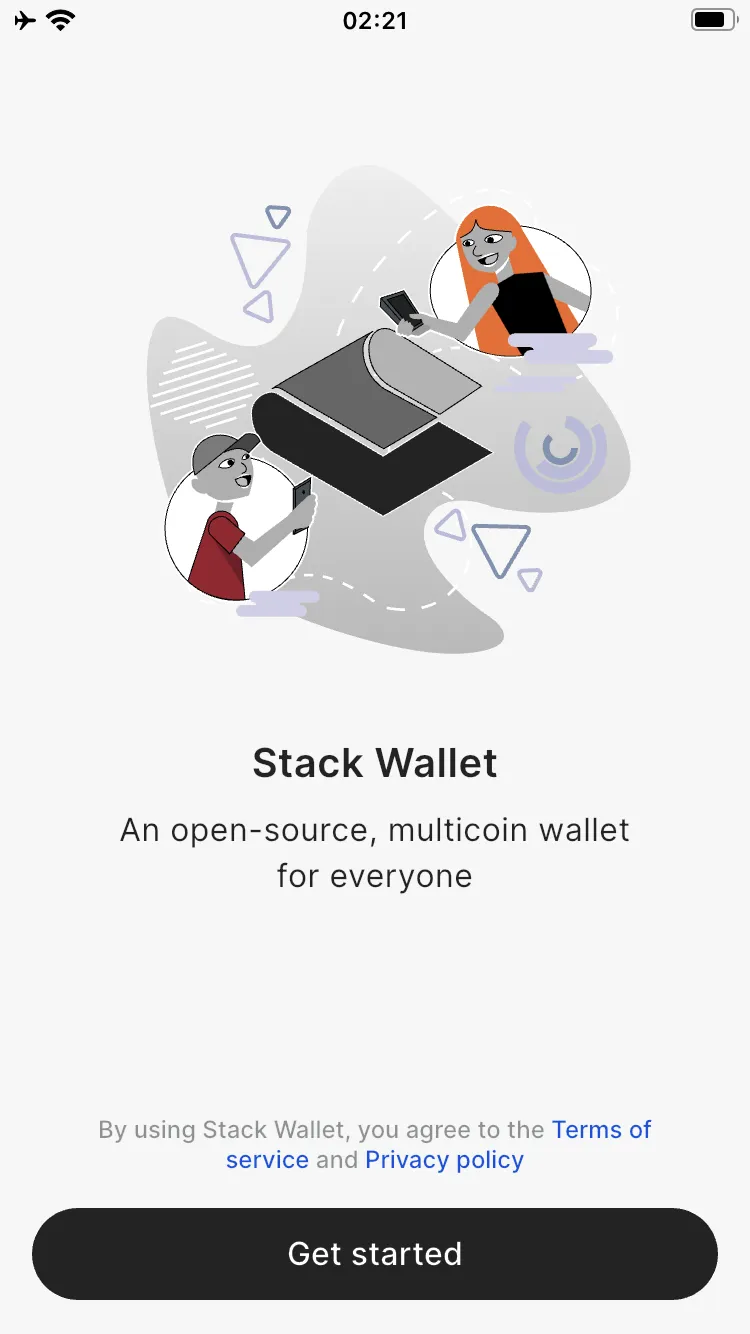
- Start the program and press Get started.
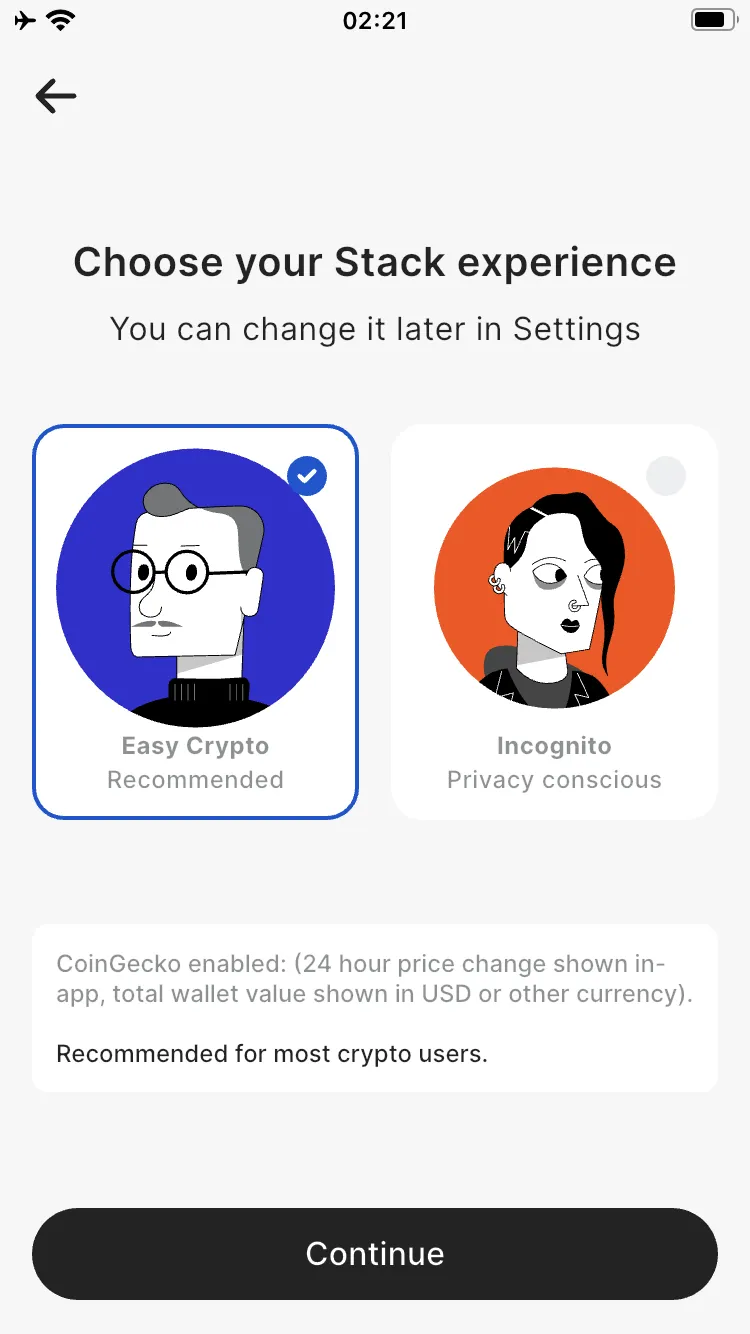
- Select Easy Crypto and click Continue.
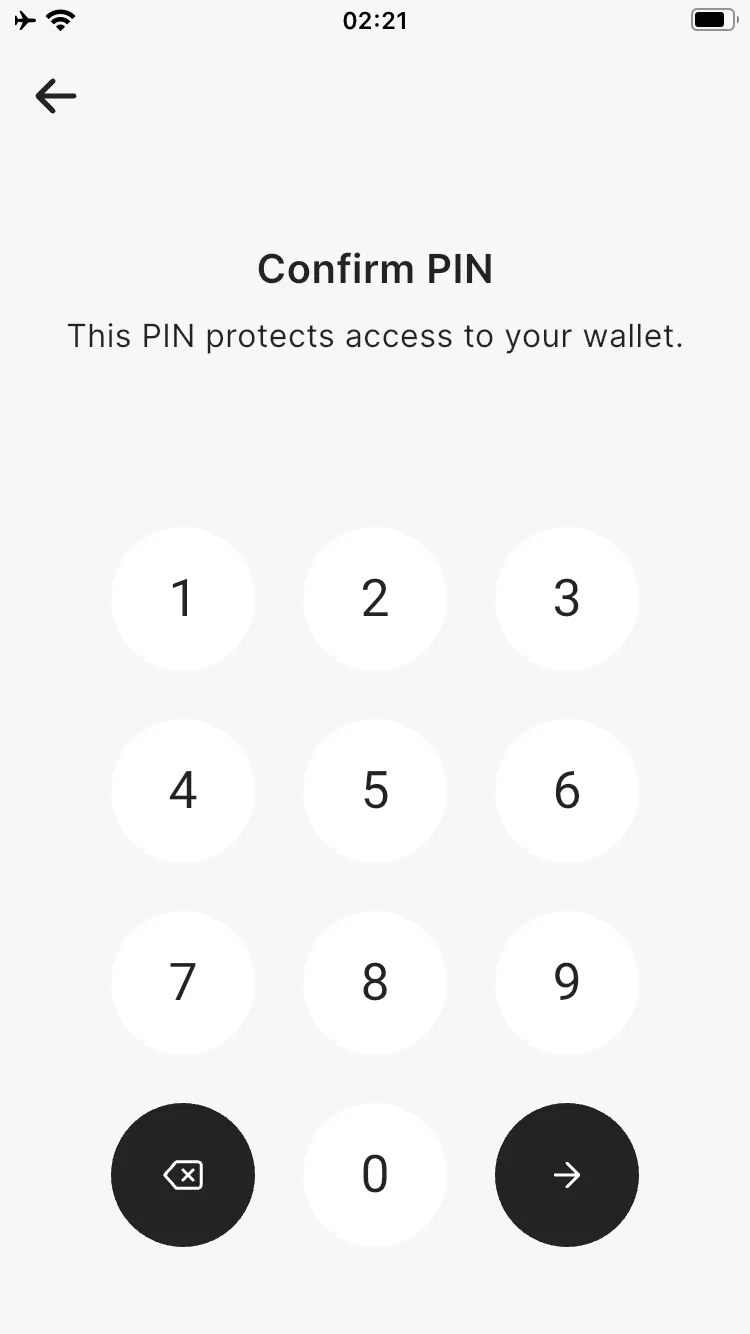
- Select a PIN.
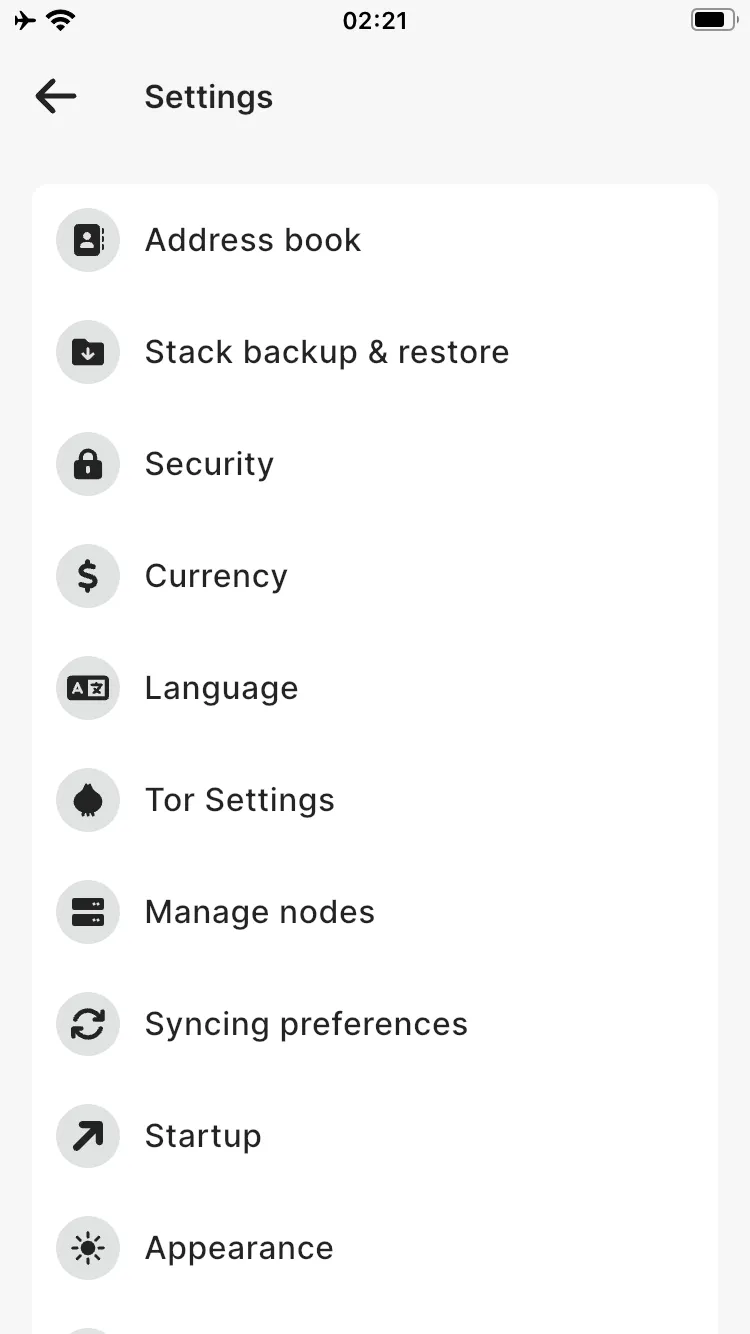
- Click the cogwheel icon in the upper right corner.
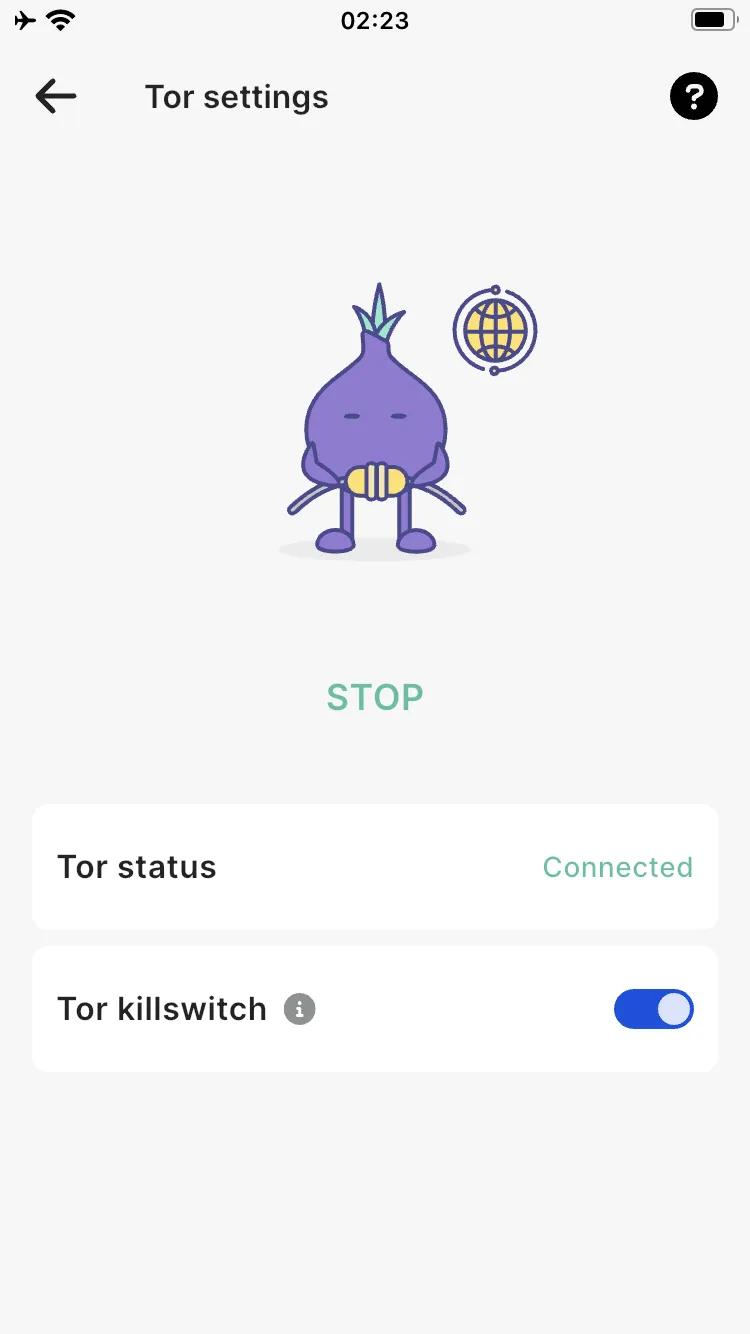
- Go to Tor Settings, select Tor killswitch, and click Connect to Tor.
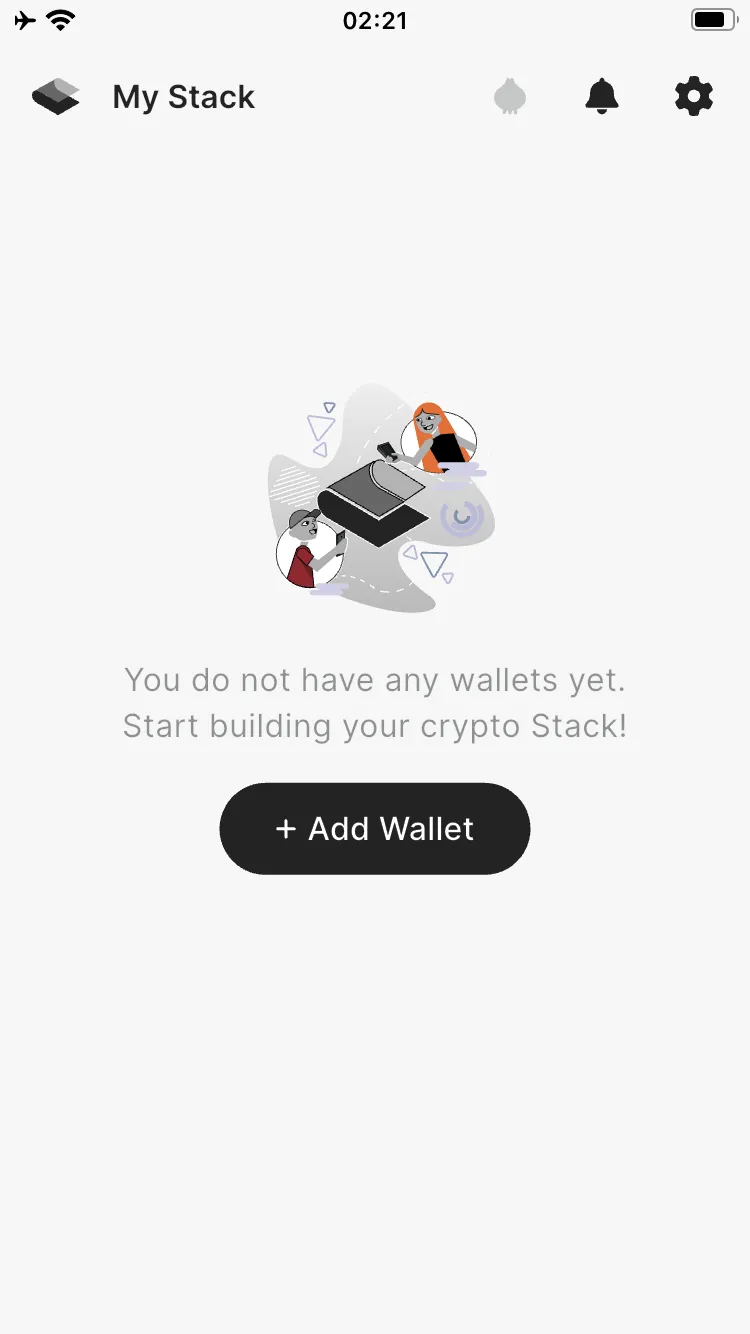
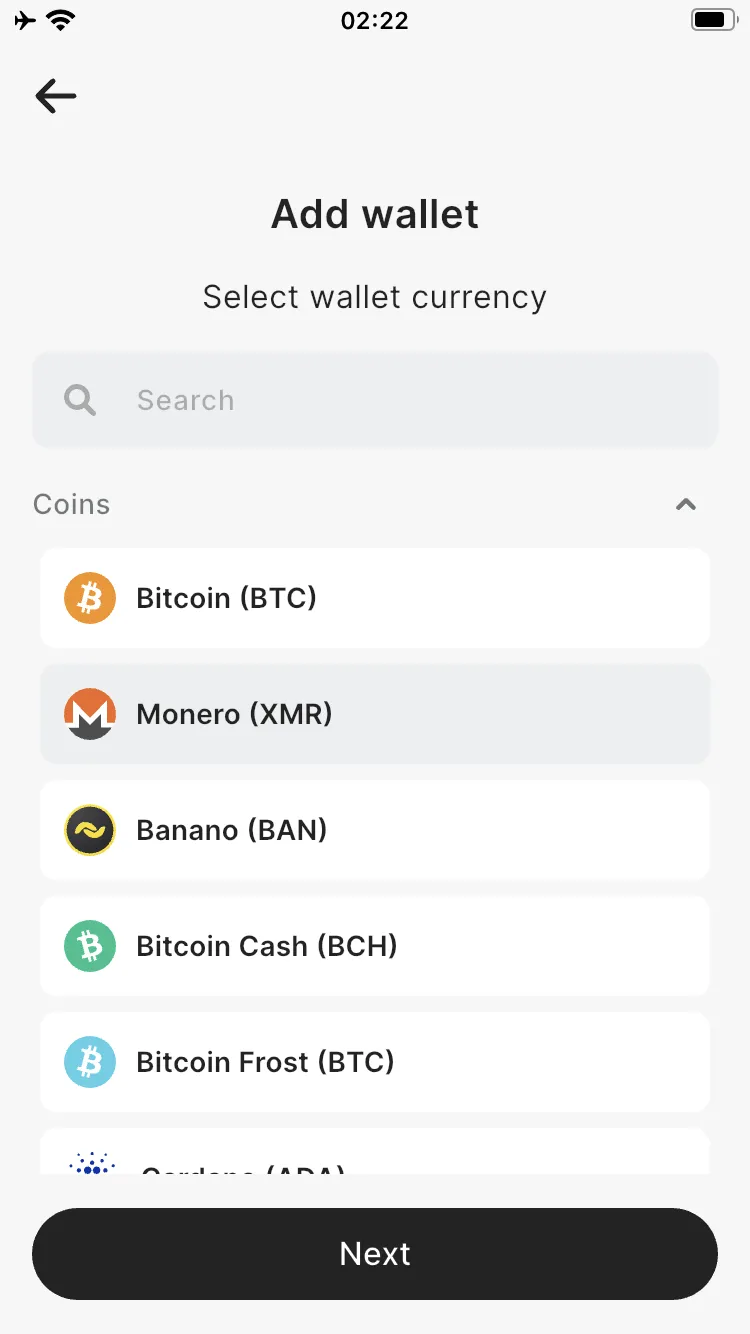
- Return to the main window and select Add Wallet.
- Select Monero and click Next.
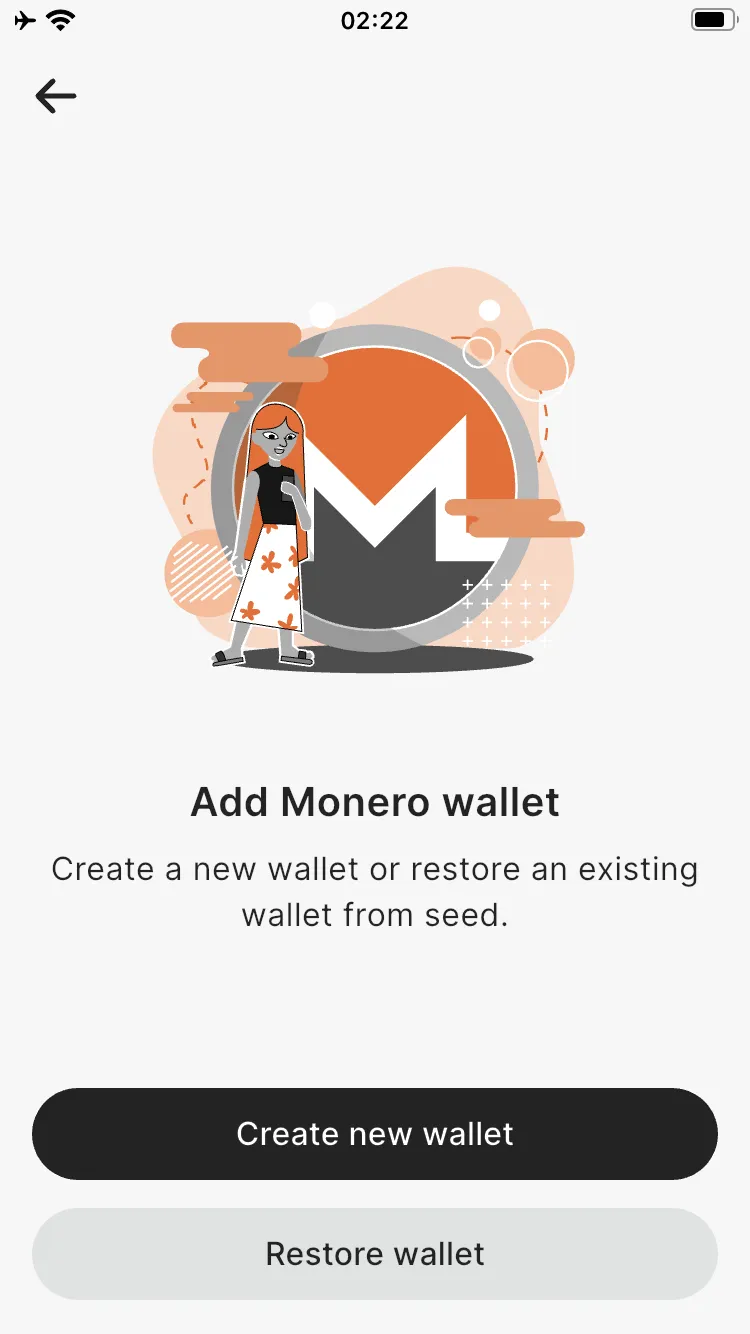
- Select Create New Wallet.
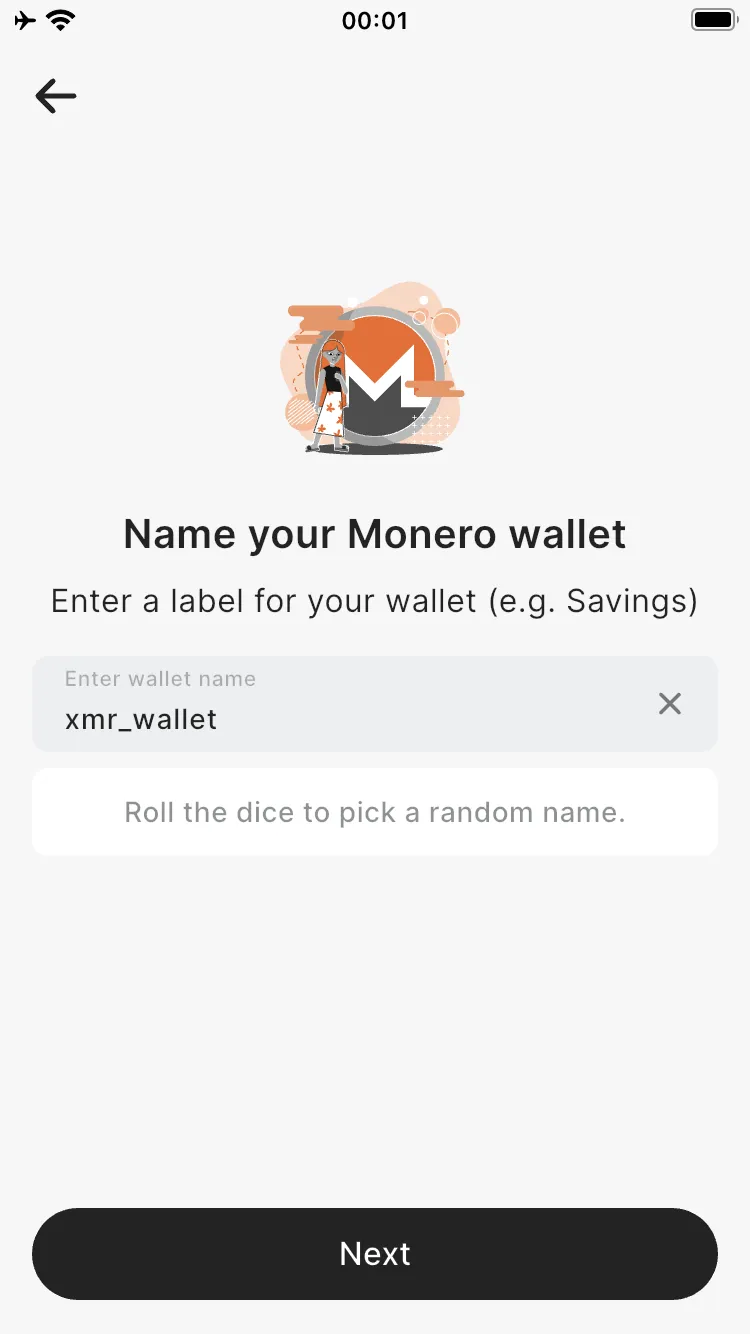
- Type a name for the wallet and click Next.
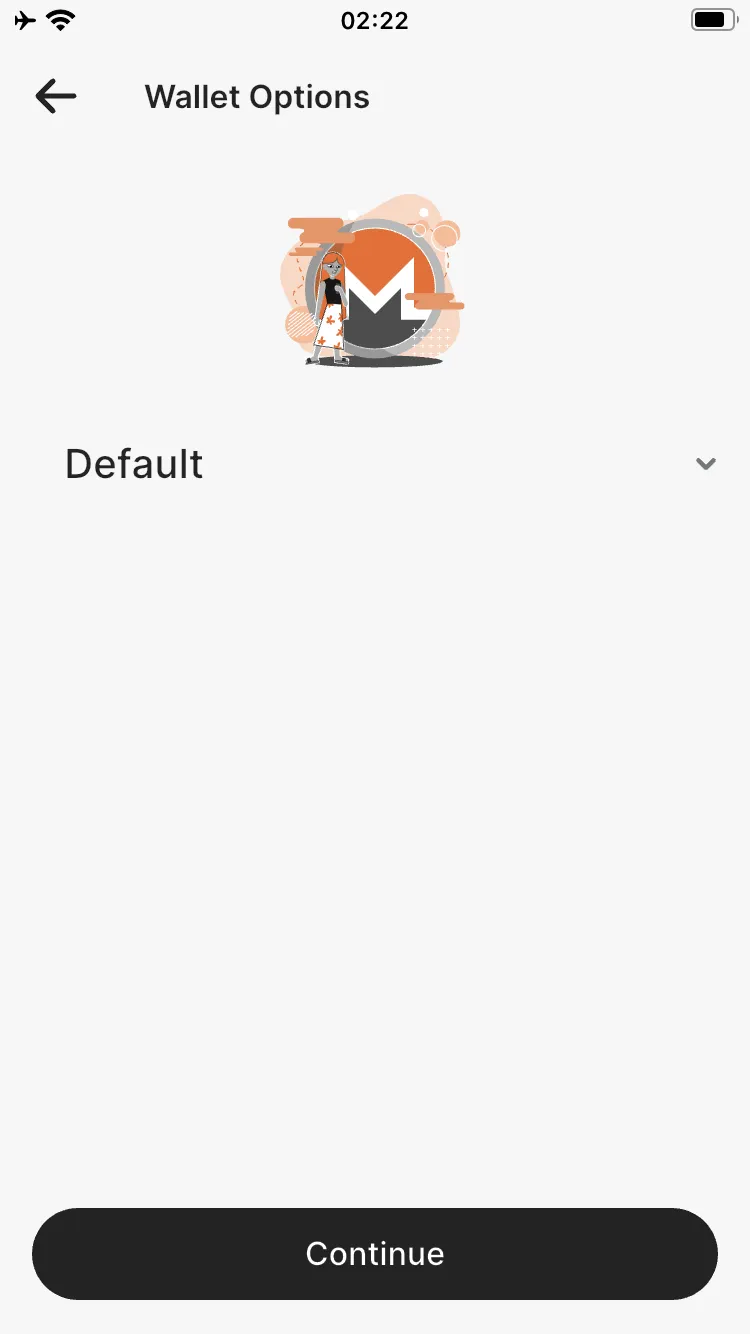
- Select Default and click Continue.
- Select I understand… and click View recovery phrase.
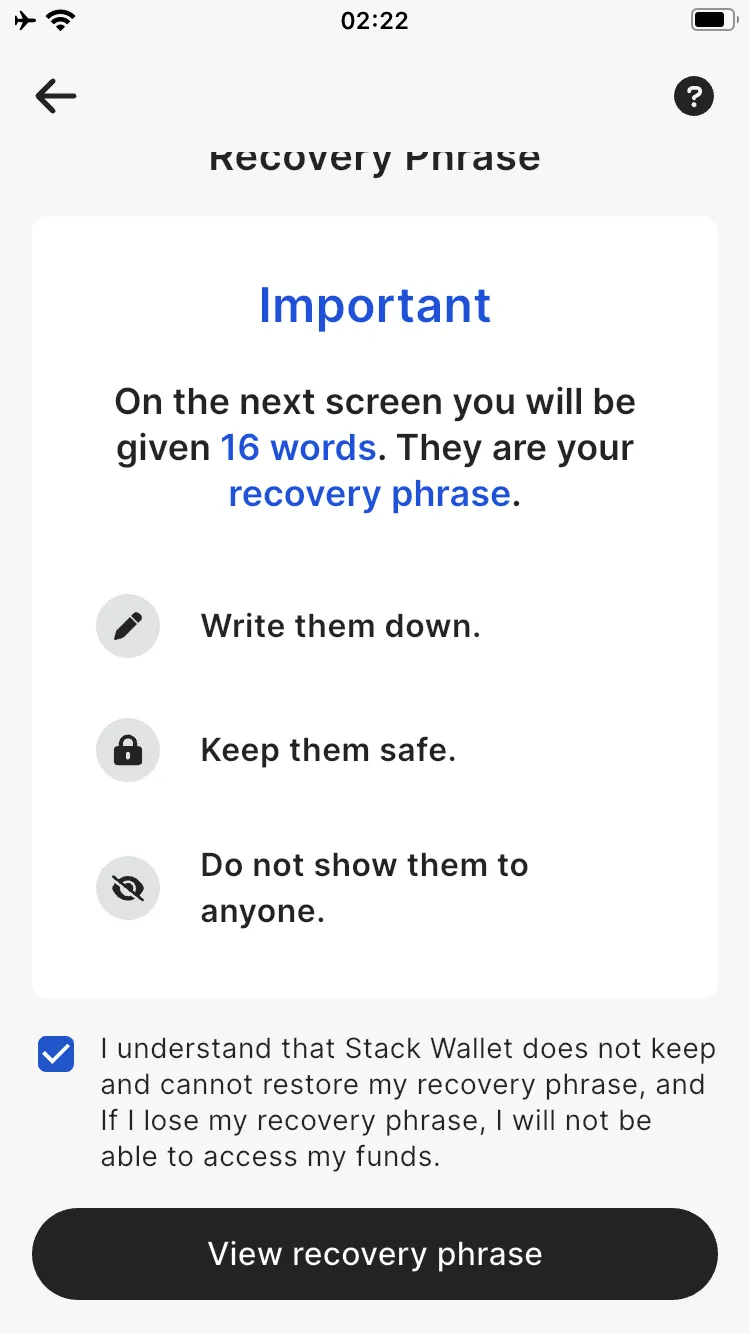
- The seed will be displayed. This is a security phrase that should be saved in a safe place along with the wallet creation date, for example, on an external USB drive encrypted with Veracrypt, Truecrypt, or LUKS. If recovery is required, you will be asked to enter the security phrase and the wallet creation date to recover the wallet. The creation date is required to retrieve the correct number of blocks from the Monero network. Entering a date that is too late during recovery may result in an incorrect amount of funds displayed in the wallet. Click I saved my recovery phrase, then enter the selected words according to the instructions.
Receiving funds #
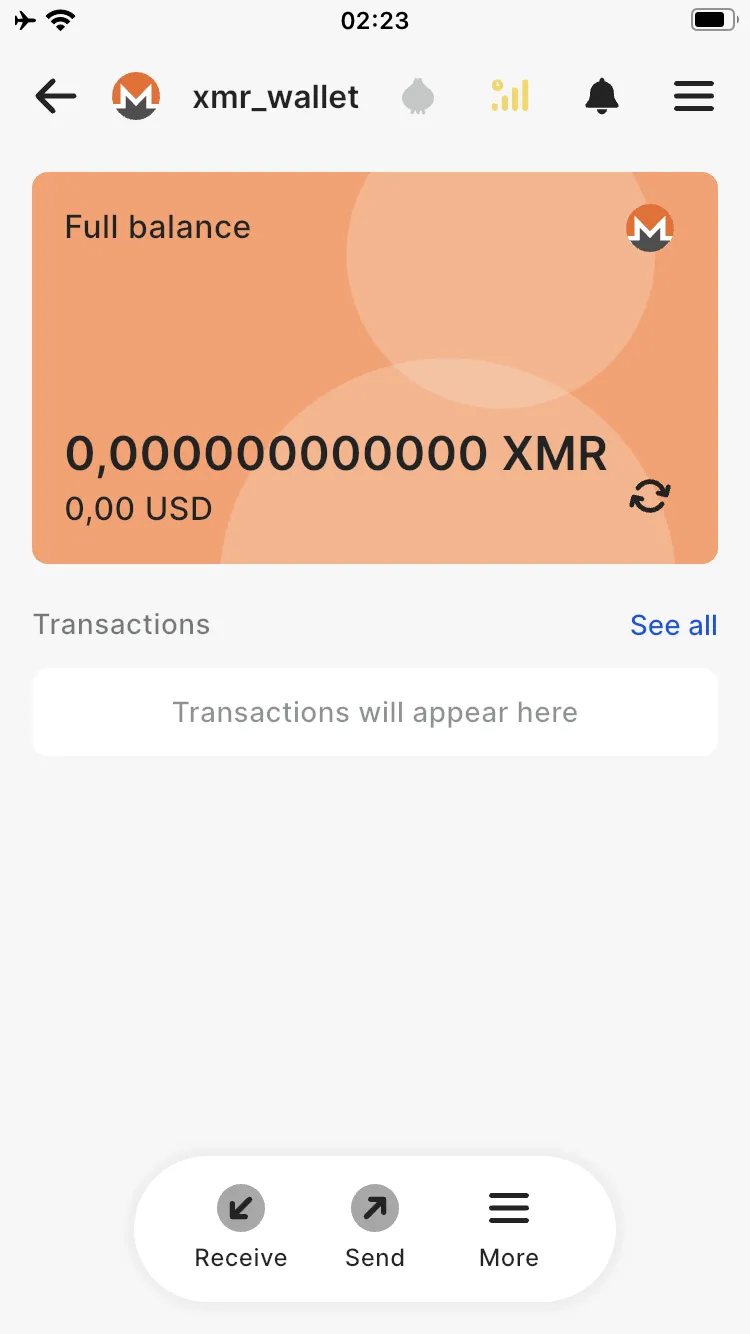
- Go to the My stack tab. There will be a list of your Monero wallets used to receive funds. Select the wallet you created.

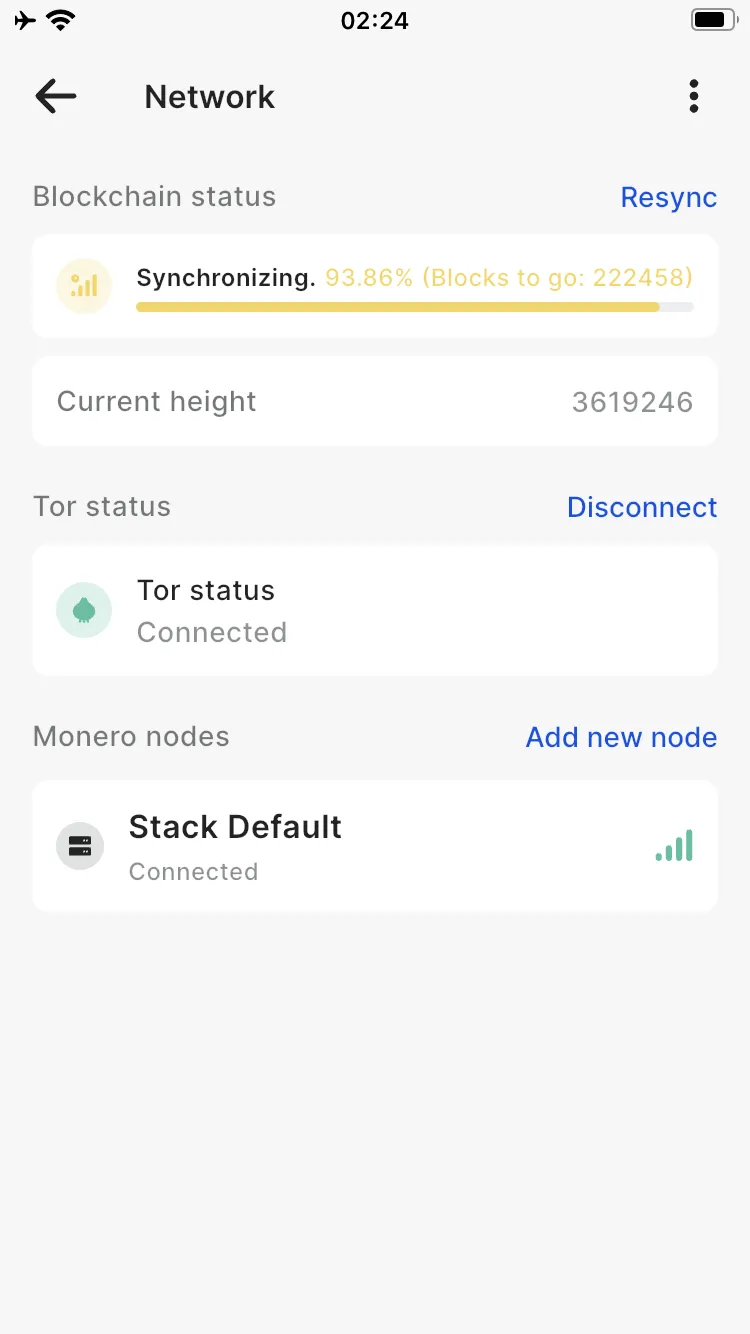
- Wait for the node to fully synchronize before using the wallet. You can check the synchronization status by clicking the three yellow vertical dashes icon at the top of the screen. If synchronization is complete, the dashes will change to green. In case of connection problems, click the three dashes icon and then press Resync.
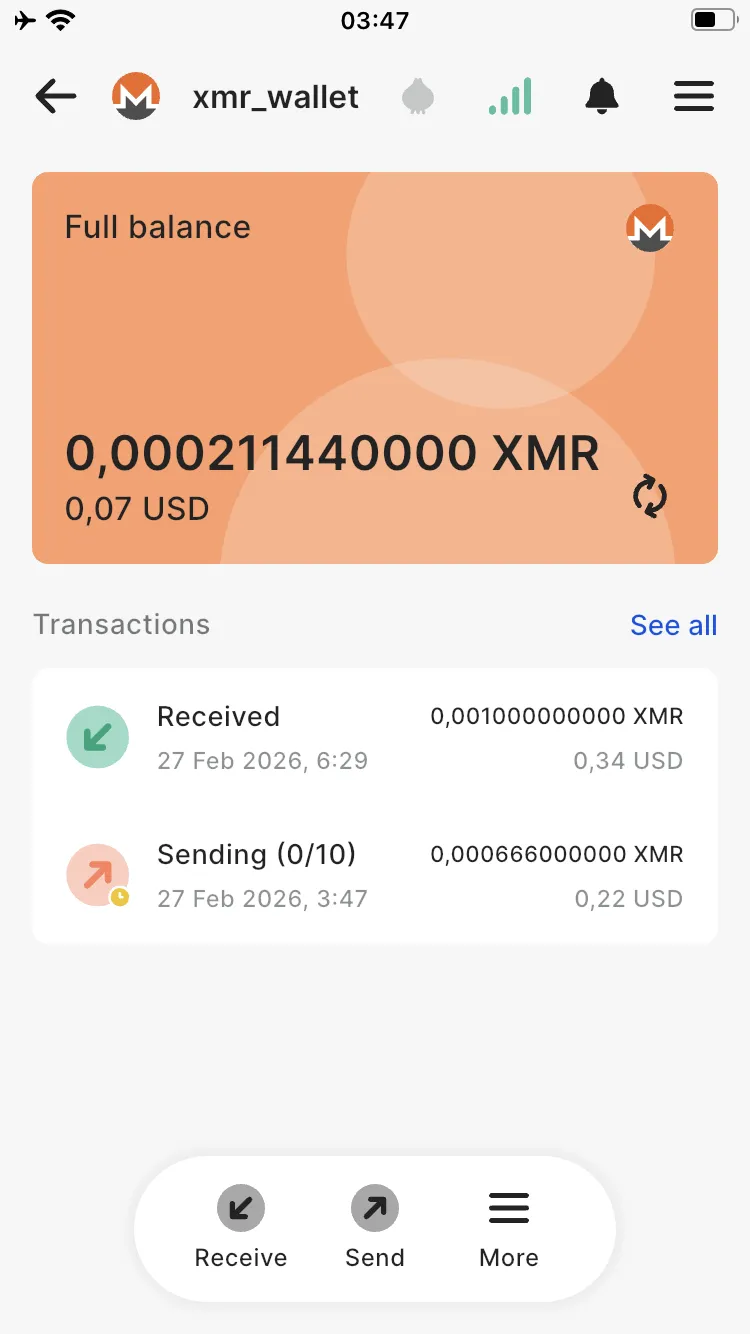
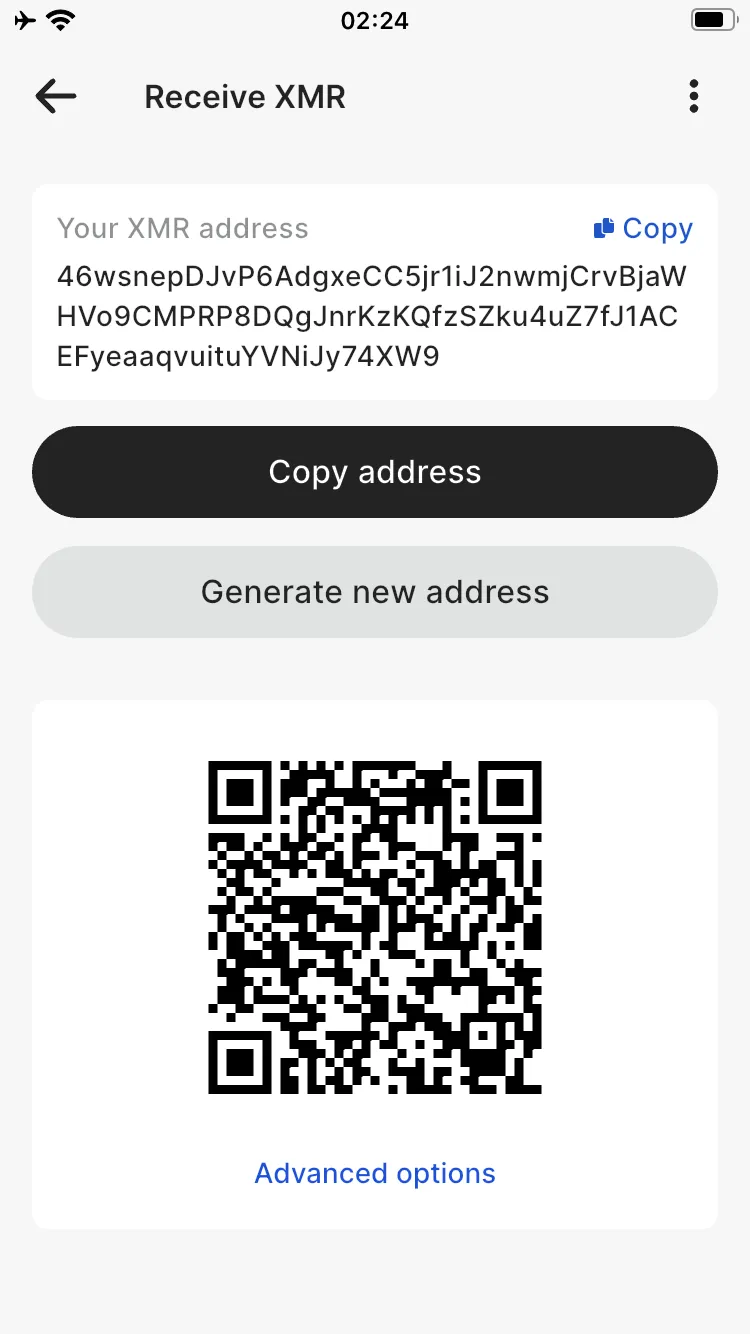
- To receive funds, go to Receive and copy your address by clicking the Copy button. Then paste it where you want to receive the funds, for example, in the appropriate section of an exchange or by sending it to the appropriate person. You can generate a new subaddress by clicking the Generate new address button. It is a good idea to use subaddresses once and generate a new one for each new transaction, thus ensuring maximum privacy of your funds. All incoming transactions to any of the subaddresses are combined, and their balance is shared across the entire account.
- After receiving funds, you can see the complete transaction history of received and sent funds in the Transactions table.
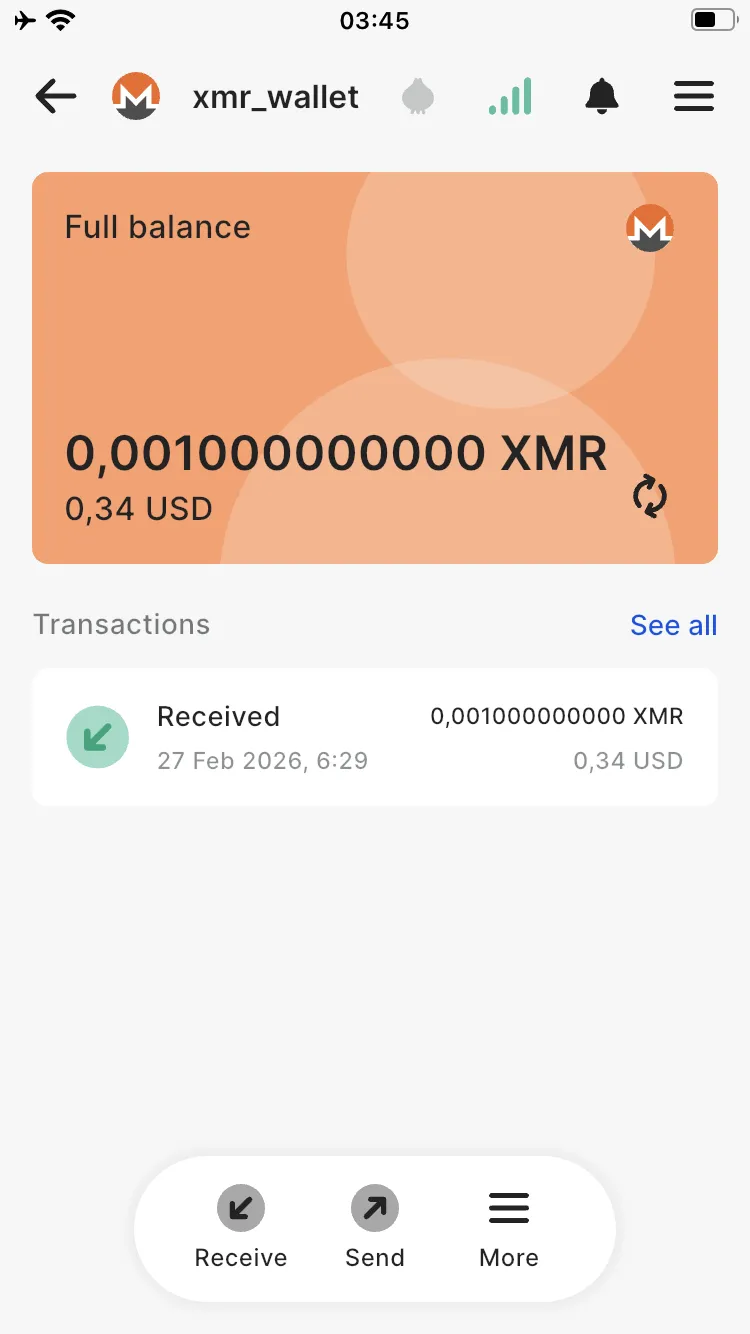
- Wait for 10 confirmations from the Monero network before sending the received funds.
Sending funds #
- To send funds, go to Send. Paste the destination Monero address under Send to, enter the amount under Amount. Verify the Transaction fee amount; it should be a few cents. Click the Preview send button. After a few seconds, a confirmation window will appear. Before confirming the send, make sure you have entered the correct destination Monero address.
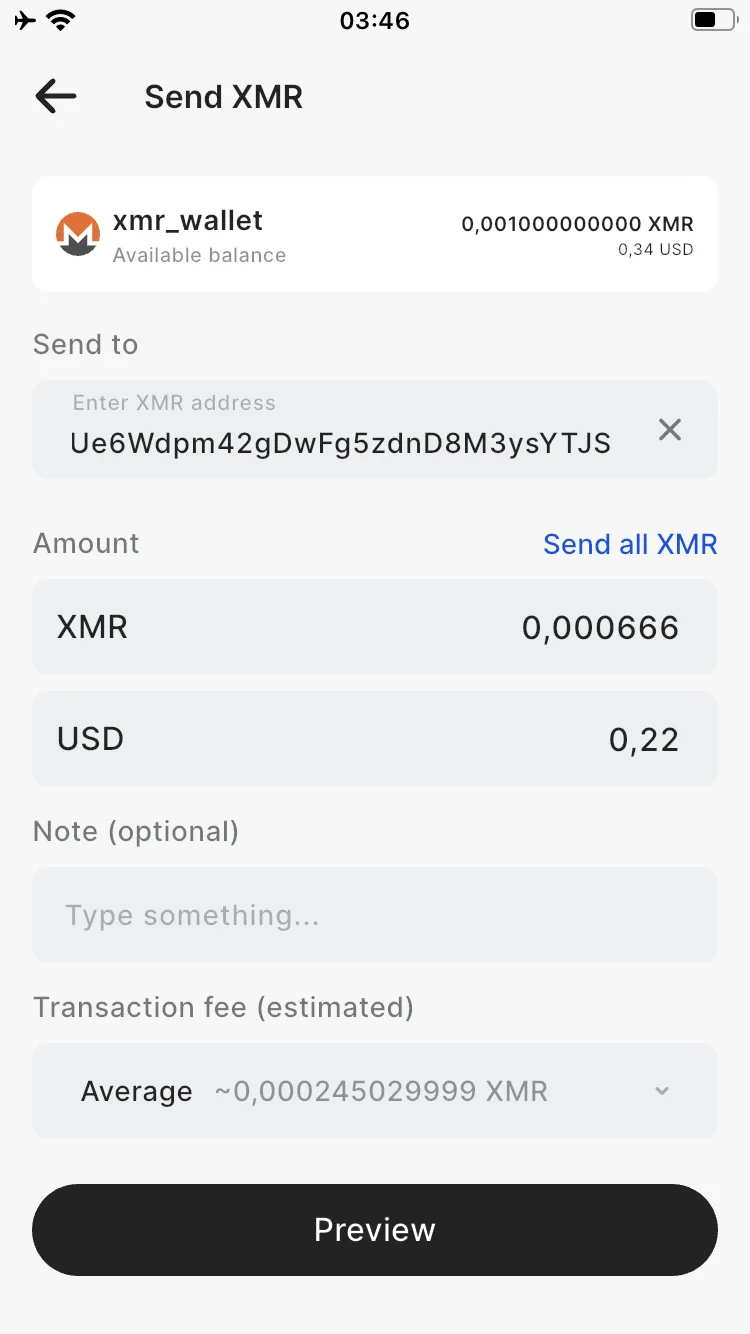
WARNING: This action cannot be undone. Providing an incorrect address may result in loss of funds.
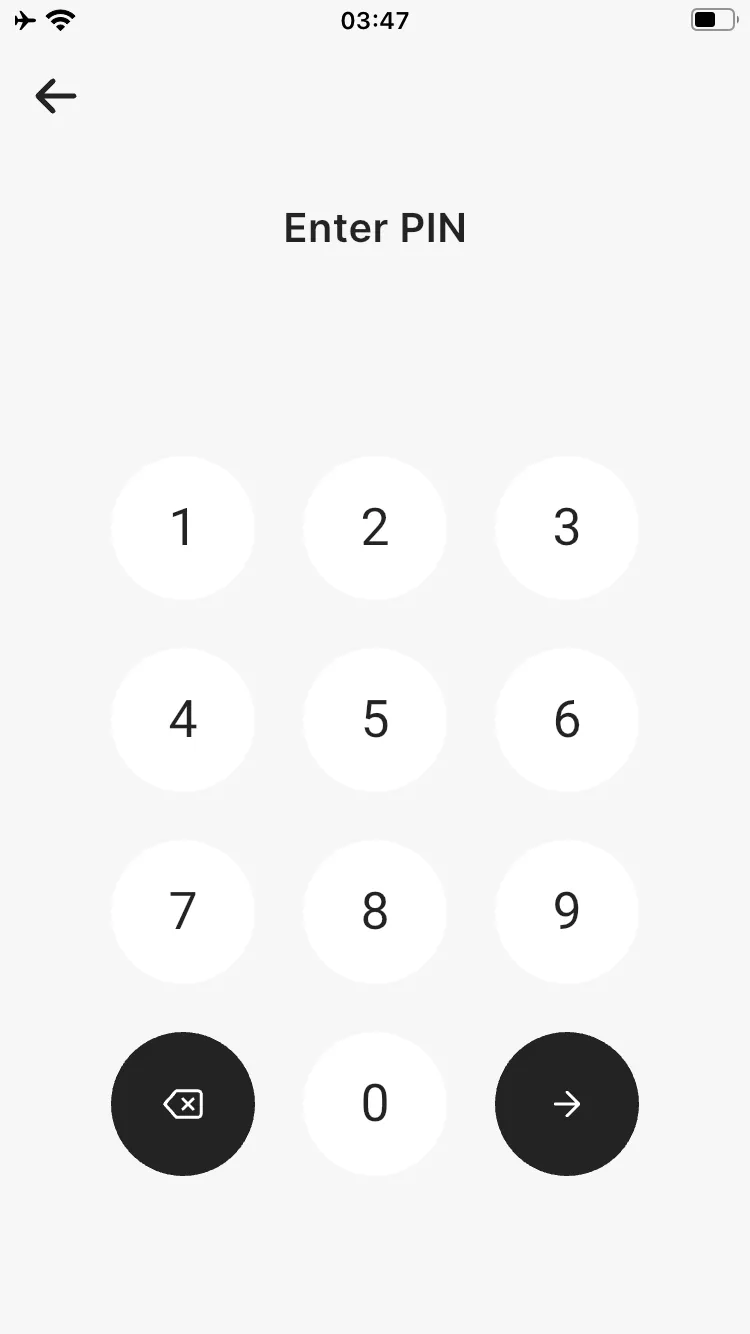
After checking the transaction details again, click the Send button and enter the PIN to confirm.

- Wait for 10 confirmations from the Monero network before continuing to use the subaddress after sending funds. You can check the available balance by clicking the Full balance / Available balance button displayed above the XMR balance.